


Support
Customer Portal Linking - How to Integrate Customer Portal Pages
Integrated Customer Portal URLs With Dynamic Pages:
To locate the desired URL from the customer portal to filter classes by class filers, camp types, events, parties, and more. You will need to access your customer portal via your Office Portal (Admin account). Once logged in, go to the account profile image in the top right corner.
Where can I find my Customer Portal?
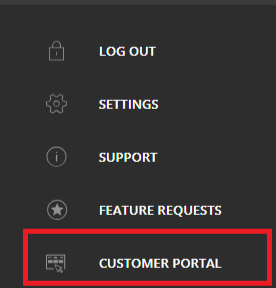
From your iClassPro office Portal > go to the Profile (top right) image > the Navigation Panel will open > Go to Customer Portal to find your customer facing portal.
How to Class Page filters work?
From the Booking Page > Go to Find a Class - from here you can use the Class filters (Found in the office portal > Settings> Customer Portal > Other Settings > Class Filters
(see: How Do I Configure Class Registration and Filter Settings?(Other Settings) as needed.)
Can I ingertate News, ProShop and other portal pages?
The site connects your ProShop online, news and announcements, and staff to ensure you are making the most of the streamlined portal pages within your website.
What if I have Multi-Location in my iClassPro account?
NOTE: Multi-location accounts:
If you have a single iClassPro account with multiple locations, please note that each location will have an ID that will need to be added to each URL to ensure the results display to your desired location. EXAMPLE: https://portal.iclasspro.com/[account_name]&location= ID
You will need to add the &location= ID. Refer to the existing URLS on each portal page to identify your location ID for each location, or contact us at webservices@iclasspro.com if you need assistance with your location ID filtering.
Step by Step Customer Portal Linking (Dynamic Page)
When the edits are completed click Republish in the top right corner of the top menu bar. These changes to your site will be updated as soon as the information is saved.