Support
Contact Form Responses
Manage and Delete Responses
To manage and delete responses received from a contact form:
- From the Dashboard, click the three dots () icon next to the site where the form appears, click Site Overview, then select Form Responses. Alternatively, in the side panel of the editor, click SEO & Settings, then click Manage Form Responses.
- Note
- The option to export Contact Form responses is only available when you access the responses from the Dashboard.
- The Form Responses page opens and allows you to remove any response to any form on the site. You can search for relevant responses in the Search responses search box. Ensure you search for the exact name, phrase, or characters.
- Click on the relevant form tab to open a table which includes:
- The date of the form response submission.
- The input from each of the form fields.
- The option to delete the form response.
To export form responses in CSV format, click Export to CSV in the top-right corner of the Form Responses section.
Auto-reply to Form Submitter
By default, an auto-reply will be sent to the form submitter (as long as their provided email address is valid). It can be turned off in the Submission tab of the Content Editor. You can also set the Form name (the name you enter here will show in the sent email’s “From” field), Email subject line, Email message, and set it to include a copy of the submitter's form response in the email (this is checked by default).
To edit the auto-reply to form submitter settings:
- Right-click on the widget and click Edit Content.
- Select the Submission tab.
- Click Actions after submission.
- Scroll down to Email Settings.
Respond to Customer Contact Form Submissions
You can respond to a customers contact form submission directly from your email. When you receive an email from Website Builder with the details of the contact form submission, click Reply to Customer in the body of the email. This allows you to reply to the email address of the customer. If the customer listed more than one email address, it will only be sent to the first email address listed.
Creating Waivers/Authorization Using Contact Forms
At this time, there is no way to add a waiver directly to the iClassPro customer portal from the website such as Parties or special Programs waivers.
However, you can create external forms through your website by using the Contact Form widget. This allows you to capture data and then use a service like Google Forms or JotForm to manage the information externally, outside of iClassPro. To learn more about the form integration options please review the support page here.
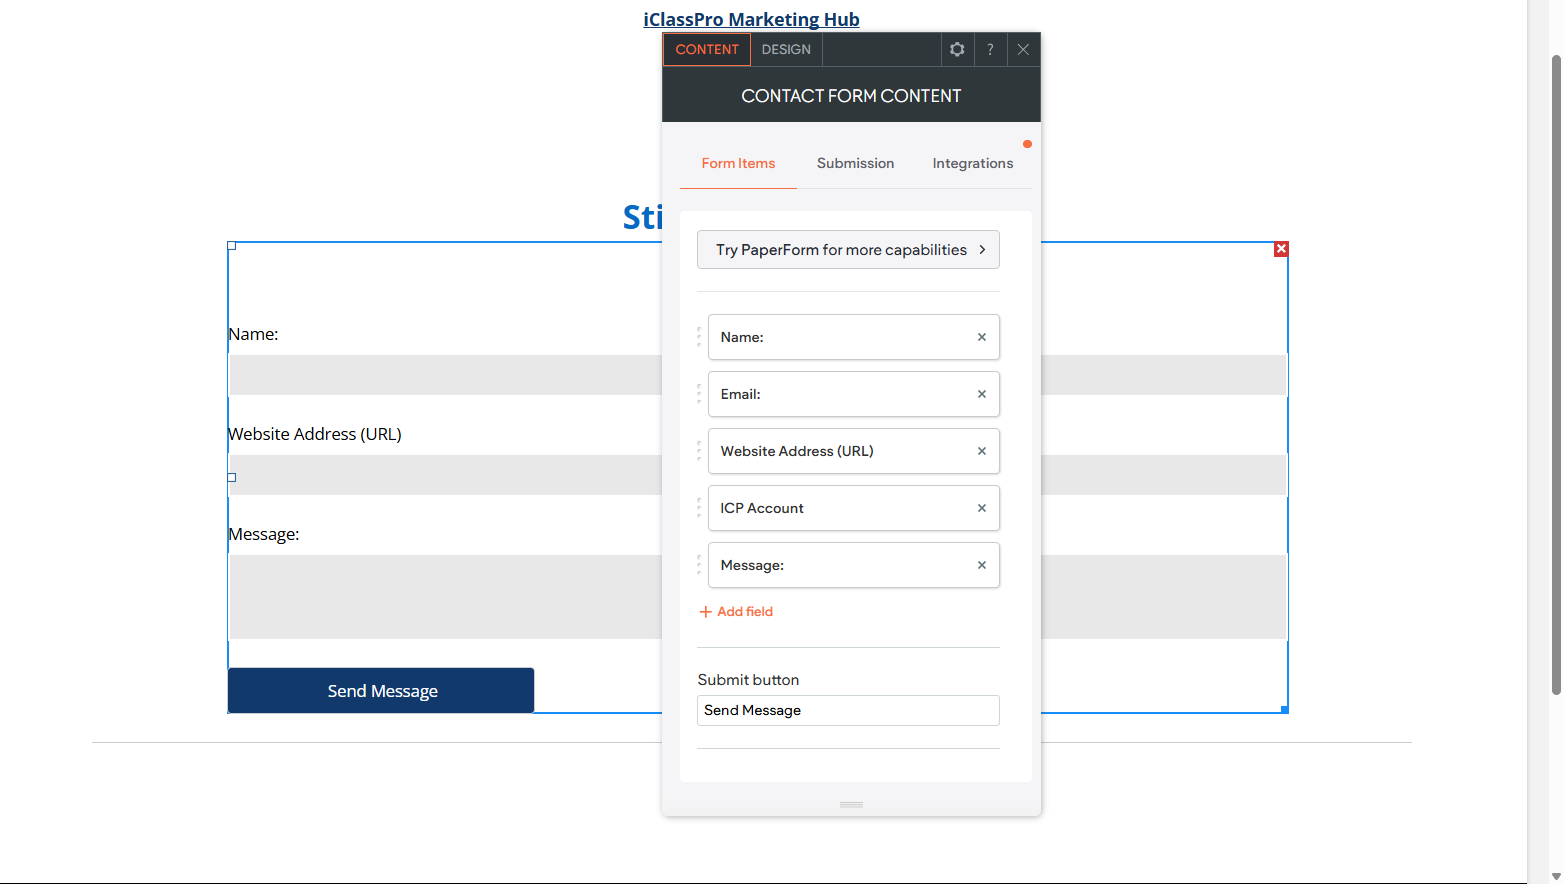
Using the Form Fields below you can create required fields, customized messages, and form submission requirements.
We've also seen clients successfully use third-party waiver services such as WaiverKing or Smartwaiver.. These can be linked to your website or embedded using the HTML widget. These platforms also offer tools for securely managing and storing waiver records.
Please note that while we are unable to provide legal advice regarding waivers, we strongly recommend consulting your business attorney, insurance provider, or any relevant parties to ensure that the options you choose meet your organization's specific legal and industry requirements, as these can vary by state and facility type.